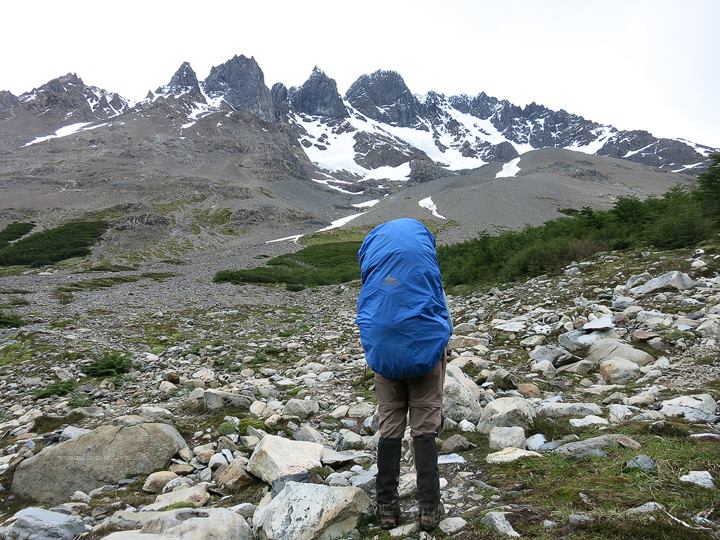
Patagonia packing list for Trekking and Camping is from our personal experience in Torres Del Paine National Park, Chile, doing the O circuit and W Trek, independently without a tour guide and self catering.
However, the list can also be used for rest of the Patagonia.
Don’t take “packing-light” easily. Try to reduce the weight of the backpack as much as possible.
Article Contents
Patagonia Packing List
Best Hiking Backpacks:
Best hiking backpack for women:
Well, we all know a good fitting backpack is absolutely necessary. The question is how big and what brand is the best for you.
Personally, I like having one backpack that I can use for trekking as well as for regular travels. After a lot of research on searching for best hiking backpack for women and travel backpacks for women, I settled for Gregory Diva 70L backpack that solves both the purposes.
I have been using this backpack for more than 5 years now. And this pack has been to several backpacking and hiking trips, so I can guarantee Deva 70L is one of the best women’s backpacking pack. that It fits my frame really well. And one of the best things about Gregory backpacks is the service they provide. Prior Deva 70L, I had another gregory backpack that had stitches coming off after few years of using. When I reached out to Gregory asking if they can fix it, in fact, they asked me to pick a new one from their collection instead for free.
I went with Deva 70L. It’s well worth the investment if you plan to use it for several years. They are really durable. Best of all, the pack itself weighs only 4.9lbs.
Best hiking backpack for men:
We are a Gregory family for sure. My husband uses his all time favorite Gregory Baltoro 85L.
What’s great about his backpack is that it only weighs 5.5 lbs, for a 85 Liter pack. Every thing, I said above on the durability, Gregory’s customer service and the quality of pack applies here too. This certainly has to be one of the best lightweight hiking backpacks out there.
Gregory Mountain Products Men’s Baltoro 85 Liter Backpack, Dusk Blue, Medium

 Backpack Rain Cover:
If you read my article on O ciruit , you probably already know by now that even in the peak summer, flash rains and thunderstorms are very common in Torres Del Paine National Park. It happened to us throughout the hike in Patagonia. There will sudden heavy pour for 10 minutes and after sky will clear up in no time, making it look like nothing happened.
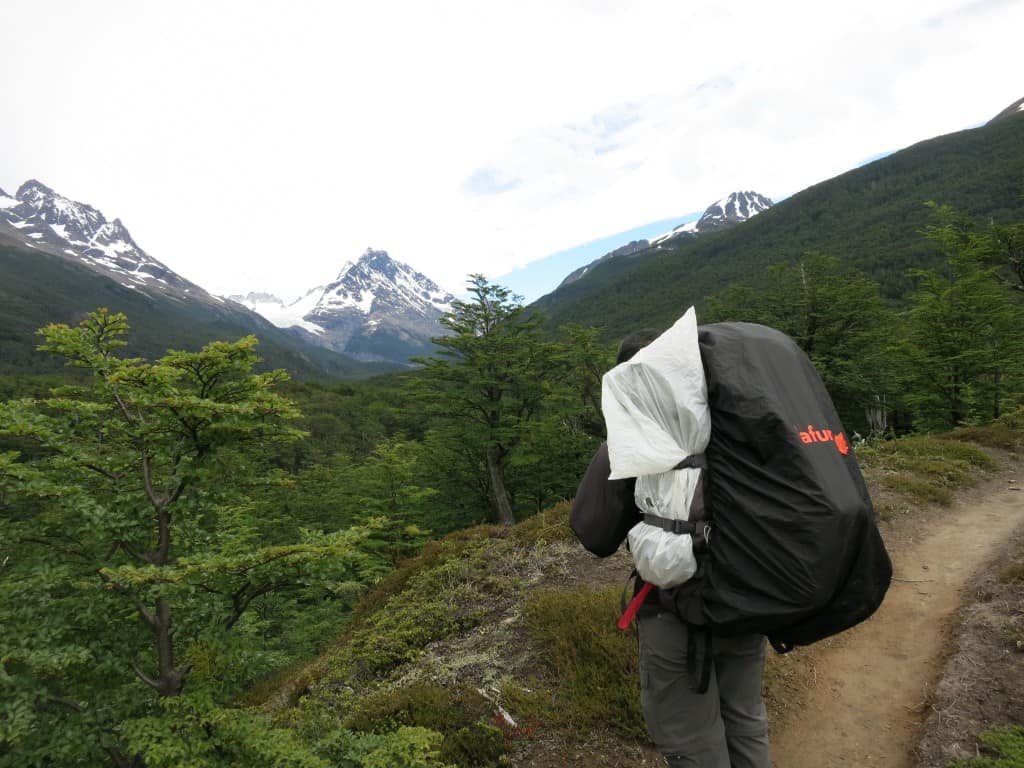
So, it’s wise to protect your backpack with rain cover. Since I use Gregory backpack, I bought myself a nice Gregory backpack cover for rain. There are several brands out there that offer backpack covers for rain. For example, my husband uses backpack rain cover that he bought for his old Lafuma bag and it works just fine.
Gregory Mountain Products Pro Raincover, Web Orange, 65L-75L
- Small and big ziplock bags to organize and to give camera, batteries, memory cards extra layer of protection from rain.
- Day pack if you are doing day hikes instead of the entire circuit. On the ‘O’ circuit we didn’t carry day-pack. It only adds more weight.
- Dry cover for my Canon 5D Mark II
- 3-5 trash bags. When you have to break the tent after a night of rain, it is easier to keep the rain-fly,tarp in the trash bag and attach to the outside of the backpack.
2) Clothes , Layers
- 2x of hiking pants
- 1x full-sleeve sports t-shirt
- 2x short sleeve sports t-shirts
- I like to carry sweat pants/cotton t-shirt to change to at night. It is optional. Some people just use the existing layers. See what works for you.
- 2x or 3x pairs of hiking smart-wool socks
- 4x underwear
- 1x rain proof pants
- 1x rain jacket
- 1x fleece jacket (I use 300 Series polar fleece jacket )
3) Toiletries: Torres Del Paine park has campsites with hot water for shower. There are only two campsites that don’t have shower or toilet paper.
- 1x roll of toilet paper per person
- Tooth brush, paste
- cold cream
- lip guard
- a small bottle of liquid soap.
- Sunscreen
- 1x micro fiber towel. Dries very quickly.
4) Trekking gear
- Sun glasses
- Hat or vizor
- Buff
- Hiking poles. I learned my lesson on this trek and intend never to forget hiking poles in the future. Especially on downhills, its of a great help.
- Foldable water bottle or nalgene bottle. In Torres Del Paine, there is absolutely no need to carry more than one bottle with you. There is water stream everywhere. Just keep filling the bottle and keep it full.
- Hiking Boots that is Goretex/waterproof. I wear these.
- Gaiters. Yes, you need them on the ‘O’ circuit. There are some really swampy parts of the trails to walk through. If you forgot gaiters, try putting plastic bags between socks and shoes to protect the socks from getting wet.
- Moleskin
Note: Water in Patagonia is safe to drink out of stream. We took water filter with us and never even opened it. And everyone we met on the trail did the same. Nobody filtered water and there is no need for bladder.
5) Camping gear
If you are doing the ‘O’ of Torres Del Paine, tent is a must. However, for ‘W’ trail, there are a few different options:
- A tent for the size of your group. We used 2-person tent from REI. Make sure to have rainfly on your tent. It can rain pretty much anytime.
- Zero degree sleeping bag. I sleep very cold and I prefer zero degree sleeping bag. You may be able to survive with little less warm ones.
- Sleeping pad.
- A pair of flip-flops
- A camping stove
- 2x gas canisters. You can buy them on the campsites. We bought one for $5 on the trail. Outside the park it is even cheaper.
- One pot for boiling water/cooking
- Mug/spoon/swiss knife
- Match box/Cigarette lighter
- Money. Most of the campsites are for a fee. Make sure to take pesos with you. Most campsites don’t take US Dollars. For the latest price, check ahead at Erratic Hostel in Puerto Natales.
Options for ‘W’ trail: This trail is the highway of the park. It is very crowded in high season, so plan accordingly.
- Campsites have hotels/refugios that you can stay at. But, you have to book in advance.
- You can rent pitched-tent sites that come with tent, sleeping pad and sleeping bag. This also requires advanced booking.
- If you don’t mind carrying your own camping gear, no need to book anything ahead. There will be a campsite for everyone.
Cooking Situation in Torres Del Paine:
All campsites have running water to wash your utensils. Also there will be a shelter/room to cook in each campsite. If your stove breaks, which it did in our case, you can borrow the stove from people.
Renting camping gear:
Puerto Natales, the entry point to the park, has places where you can rent all camping gear. Check out “Erratic Rock” for renting.
6) Food
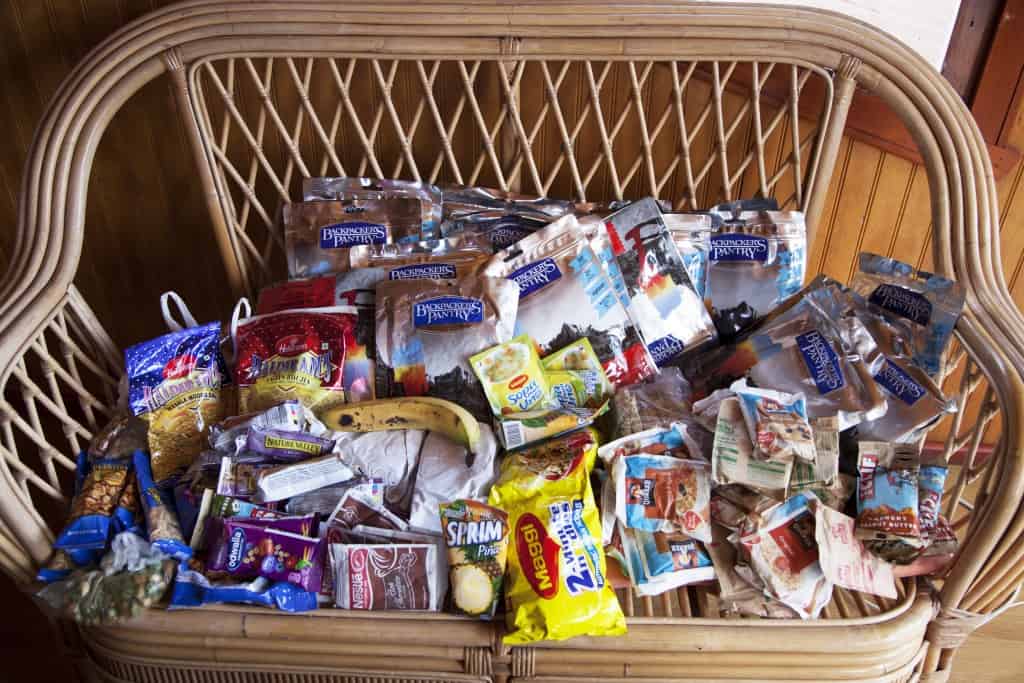
This is the tricky part of packing for a backpacking trip. And having previous backpacking experience comes in handy to plan how much food you will eat. What’s listed below is for me and Chakri’s appetite. Plan for yours accordingly.
Since we are slow hikers, we planned for 10-days of food. But we completed the trek in 8-days. We could have potentially reduced the weight by carrying food for only 8-days.
In fact, all campsite except for “Camp Passo” and “Camp Italiano” all other campsites, have a small shop with chips, cookies, alcohol, energy bars, etc.,
And once you reach the ‘W’ part of the trail, the stores get fancy, you can even buy things like, rice, pasta, sauce, couscous, noodles, eggs etc., Please refer to the ‘W’ campsites here.
Breakfast:
- Instant oatmeal one packet/person/day
- Instant milk powder, bought in Punta Arenas.
- Instant coffee
- Honey for coffee and oatmeal
Lunch:
- First three days: Bread, cheese, boiled eggs (bought in Puerto Natales)
- Remaining days: Dry freeze food. Added hot water in the morning before starting the hike.
Dinner:
- Dry Freeze food
- Maggie noodles
- Instant mashed potato powder
- Instant soup powder
Snack:
- 2 bars per day/person
- Haldiram mix a small packet 🙂
- Bought pringles at one campsite
- Trail mix
What others brought on the trail that I would consider next time:
- Quinoa
- Couscous
- Walnuts
Customs and Regulations in Chile:
Chile doesn’t allow meat, nuts, fresh vegetables/fruits. So, if you take a ziplock bag of nuts, be ready to throw at the airport.
However, they are ok with pre-packaged, sealed food products. We took all our dry freeze food, oatmeal packs, mashed potatoes, Maggie noodles from the US and nothing got thrown away.
To-do after entering the country: After we entered the country, we removed all the packaging and consolidated food in ziplock bags for two reasons, 1) reduces weight from the bags/covers. 2) You don’t want to throw wraps/covers in the park.
Yes, you can buy most of the grocery in Punta Arenas or in Santiago. Even in Puerto Natales there are shops to buy instant food. But, they can be expensive.
But, keep in mind you will not get Dry Freeze food in Chile.
7) Gadgets
- Camera
- 2x extra batteries
- 2x extra memory cards
8) Maps & Guides
You can be proactive and buy the map. But, for every person who enters the park, you get a copy of the latest map for free.
So, to avoid weight, I say look at maps online and familiarize yourself to the info and just get the map at the park entrance.
9) Medical Kit
You know your list. But for me the list is as follows:
- Tums. Change in food pattern gives me hurt burn.
- Pain killers
- Diarrhea tablets
- Blister kit
- Alcohol wipes
- Rock tapes
You may want to take more/less medicines based on your needs.
10) Insurance
Best travel insurance I have come across so far that covers stolen/lost items in the foreign countries: World Nomads
Especially if you are carrying lot of gadgets and going on a long vacation, it is totally worth taking insurance.
Typically health insurance in the U.S covers emergency health issues overseas. But, what is “emergency” can be subjective.


