No of days: 26 days ( ABC alone can be done in 8-9 days)
Maximum Elevation: 5416m
Best Months: March, April, May, September, October, November. We hiked in September.
Start From: Kathmandu End at: Pokhara
No. of hours of walking: At a moderate pace anywhere from 5-8 hours.
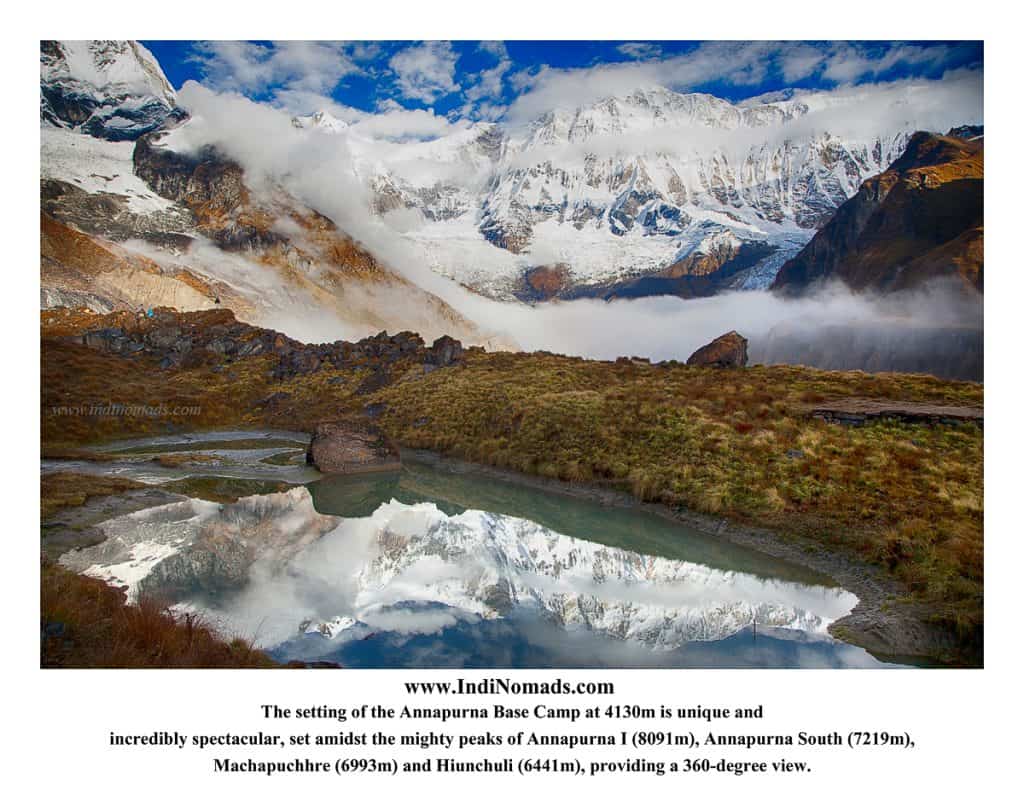
Mount Annapurna is the 10th highest peak in the world. It’s a series of peaks in the himalaya with Annapurna I at 8,091m.
This trek goes around the Annapurna ranges, coming a full circle before hiking to basecamp for another few days.
First thing to know about Nepal hikes is Altitude Sickness and what to do about it. Read this post for Altitude related tips.
Training for such a long trekking trip in high altitude:
- Regular weekend hikes and weekend high altitude hikes. I lived in Virginia prior to attempting to this trek. There are no high altitude mountains to train. So, its ok not to do high altitude hikes. However, it really helps in knowing how your body is going to behave at altitude. Since I knew I was fine at Kilimanjaro, I was confident. But, when I attempted Kilimanjaro, I just with a hope that I will be fine. But, I did the following to compensate of lack of altitude training.
- Swim regularly
- Yoga at least 3-4 times a week. This included both power yoga and pranayama techniques.
- If you get a chance to do altitude hike, you will know how your body reacts to heights. However, this is no measure of how you will actually do on the next altitude. For me personally, it has varied. Slowing down and drinking plenty of water has helped.
- Taking Diamox is an option. Lot of people do. It’s your choice.
Fatigue on the trek / Extra days:
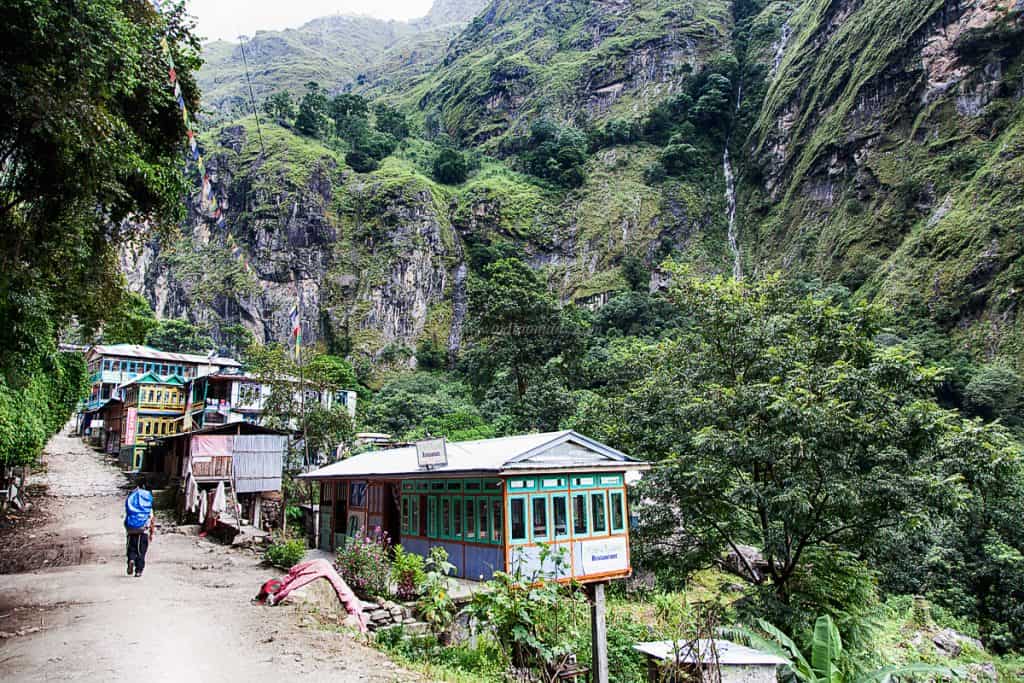
- Even if you are really fit, be prepared to deal with fatigue. Especially if you are new to multiple-day hikes. In the 2nd week, I had a breakdown. We started the hike but a few miles into it, I just couldn’t move any further. I resorted for hiring a mule from the nearby village that took me to the next destination. And I took an extra day of rest before pushing again.
- So, always keep extra day or two for such situations.
- Ladies – Go prepared for the “Time of the month”. And a painkiller if you are usually crampy. For some women this could mean a rest day. So plan ahead.
- Weather can change dramatically in the mountains. So, if you are hit by an unexpected snow-storm or avalanche along the way, be prepared to have extra days to accommodate or return back.
Stay/Food:
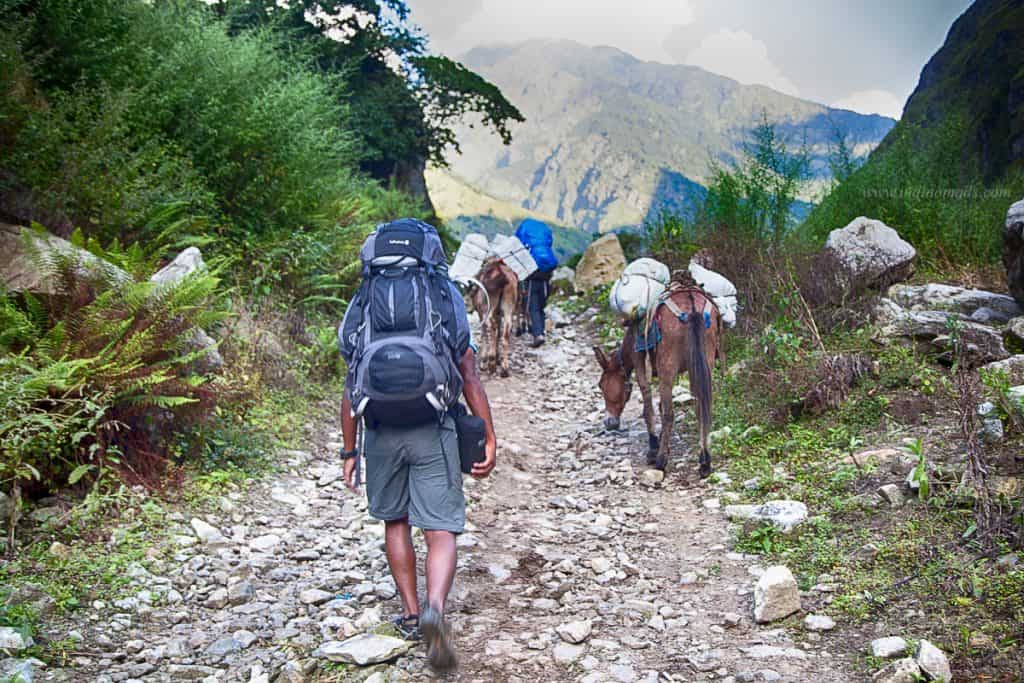
- Every few kilometers there is a village with pretty much every house catering to the tourist. You pretty much stay at someone’s house aka TeaHouses, and eat there. They charge very little for the stay like 200-300Rs. But, you are expected to eat at the house. And that’s how they make the money. Pretty much every teahouse charges the same price for food/accommodation.
- And it’s so cheap that there is no point bargaining. So, please don’t bother bargaining at all. They are not really making a killing, after all.
- Typical Nepalese food is Dhal/Bhat (Rice). It’s a combination of white rice, cooked lentils and some local vegetables. It’s in fact, very filling for a good afternoon hike.
- Most tea-houses also offer pasta/pizza/baked potatoes and yak-burger.
- You can buy snacks in any village. Things like chips, chocolates etc., As you go higher up in the altitude, be ready to pay higher price for these snacks.
- Here are the few food tricks that worked for us:
- Eat a really good egg-based breakfast with coffee/tea/plain milk
- Pack a couple of boiled eggs for the morning snacks
- We also got some haldirams from Kathmandu that we ate along the way.
- We packed ginger chews (Trader Joe’s variety). Ginger and garlic help with altitude change.
- Have garlic soup with lunch/dinner. (I didn’t eat it everyday, however)
- As far as stay goes, they give a basic cot with layers of blankets. Most of the times what they give is enough. However, I used the sleeping-bag, rated Zero degree, at higher altitudes. I generally sleep very cold at nights.
- If you go in a peak season and if all the houses are already taken in a village, most houses will let you sleep in their kitchen. At this stage, a sleeping bag is a must. So, for the two of us, we took one sleeping bag, just in case. We never had to sleep in a kitchen.

Drinking Water:
- We took a backpacking water-filter from US. And would filter every morning at the tea-houses and fill the bladders.
- We took 3-litre bladders each.
Hot water / Shower:
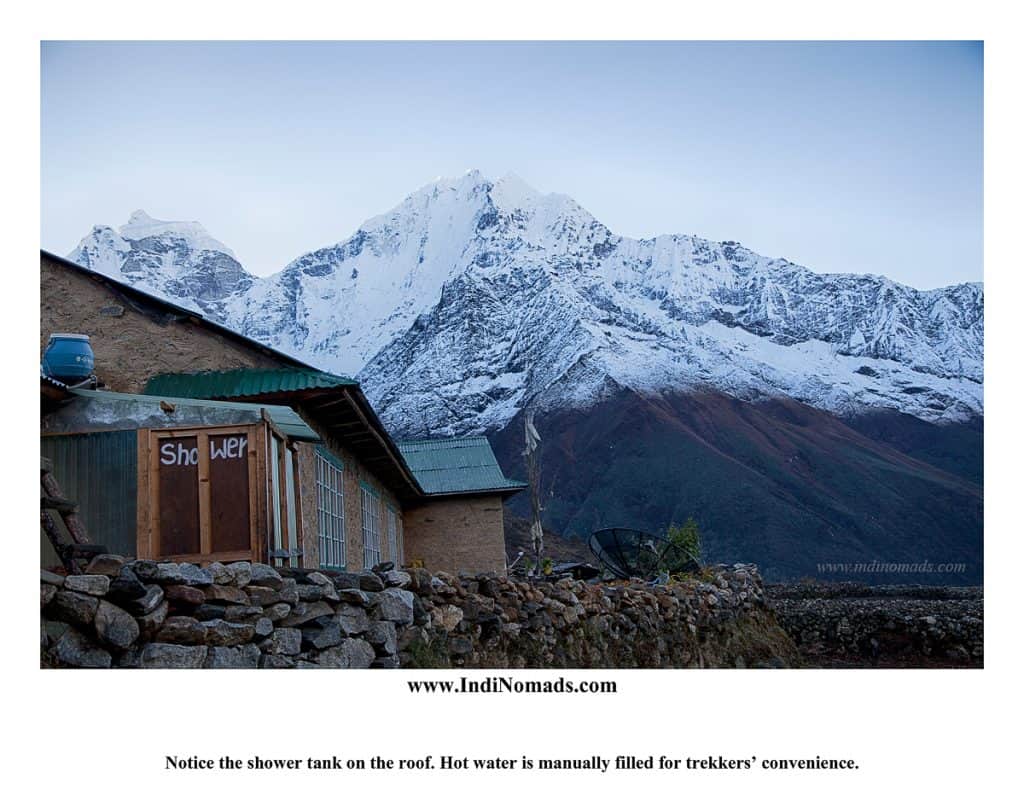
- Most tea houses have hot-water shower. However as you go higher up in altitude, you might have to pay to get hot water in buckets.
- On really cold nights, I also used fill “hot-pack bladder” to keep myself warm.
Charging Camera / Connectivity:
- I took two batteries for the camera and at least 3 of 16-GB memory cards for this hike. Plus a converter for the charger.
- Most houses will let you charge camera for free. Again at higher altitude, you might be charged for electricity.
- Some villages claimed to have Wifi, it didn’t really work out much on Annapurna circuit.
- But, there are land lines available to call home if needed. I made a call to India and remember paying a huge amount for a short call.
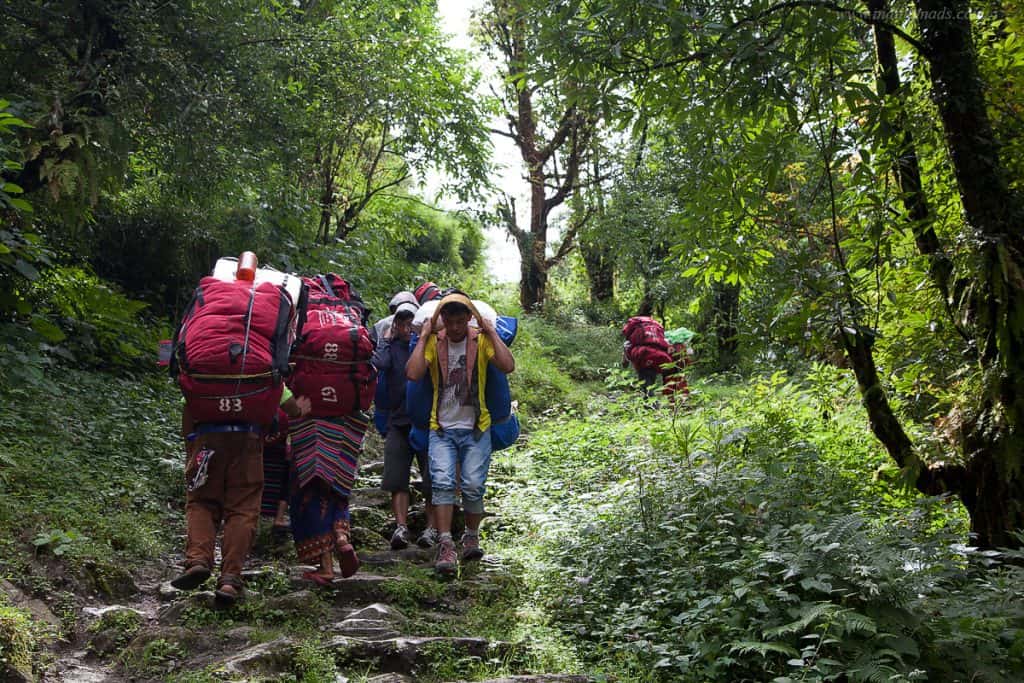
Porter/Guides:
- The trail is straight-forward. Basically there will be tons of hikers in a peak season and it’s really hard to get lost.
- Locals will be glad to guide you in the right way. However, we have heard that if you hire porters along the way, the porters may not be loyal to you. Heard of incidents that the short-term porters running away with backpacks etc.,
- So, its wise to hire a porter/guide from Kathmandu and for the entire duration of the hike, so they know for sure you are going to pay at the end. We got a porter from Kathmandu.
- Do you really need a porter/guide ? The answer is NO if you are a strong hiker.
- Here is why I hired a porter:
- While Chakri carried his backpack, I didn’t want to. I was not really that strong and nor was I trained with heavy backpack.
- I am slow hiker and took more time than whatever the itinerary estimated. So, our porter would go ahead of us and get a room in the teahouse. This really comes in handy during a peak season.
- We didn’t get a guide because our porter spoke Hindi. But, most of the porters only speak Nepalese. So, you might want to get a guide as well.
- Most of all, the job for porters/guides. This is their only livelihood. It is so cheap like $25 a day or even cheaper. So, we didn’t mind spending that money.
Permit:
- Everyone entering Annapurna Circuit/Santuary (ABC) needs to get a permit. And there are many check-points along the way, where they do check for the permits. There are two permits: TIMS and ACAP
- We got our permits through the agency we went with. Or you can buy it in Kathmandu or Pokhara.
- There is different pricing for SAARC, Indian national and western countries.
Visa / Passport:
- Nepal entry was free for Indian passport holders when we went.
- For other nationals, there were giving visa at entry.
- Check Nepalese visa website for any changes.
- We carried the passport on the hike for ID purpose. We always do. Just keep it in a ziplock cover to protect from rain.
Insurance:
- We took an international traveling insurance from US with Worldnomads.com
- And the trekking company that we went with insisted on having insurance.
- What if you have to be evacuated for weather reasons or because of severe altitude sickness ?!
Money:
- Some trekking companies offer an all-inclusive trip. They will charge you ahead for food/snacks/stay.
- Ours didn’t. But, Rabin Gurung (rabinsus@hotmail.com), the guy who we went with gave an estimate of how much money to take. Basically, he gave us an estimate of how much is needed for food/snacks/stay and porter’s tips.
- He recommended a certain amount per-day for the porter’s tip that we would give him at the end. Everyday expense of porter was not our responsibility. But, do talk to the company you choose to hash out all these details ahead of time.
- There are no ATMs along the hike. So, we took money from Kathmandu.
What to pack:
1) Bags:
- A well fit backpack. I used Gregory Deva 70 Liters. And Chakri used Lafuma 80-liter pack.
- A day pack that can fit your bladder. Especially if you have a porter and give the main backpack to him/her.
- Make sure you have rain cover for the backpack. Gregory backpacks for example don’t come with rain cover. You have to buy separately.
- Small and big ziplock bags to organize and to give camera, batteries, memory cards extra layer of protection from rain.
- Dry cover for my Canon 5D Mark II
2) Clothes , Layers
- 3x of hiking pants
- 3x full-sleeve sports t-shirt
- 4x short sleeve sports t-shirts
- I like to carry sweat pants/cotton t-shirt to change to at night. It is optional. Some people just use the existing layers. See what works for you.
- 3x or 4x pairs of hiking smart-wool socks
- 7x underwear
- Rain proof pants
- Rain jacket
- Fleece jacket (I use 300 Series polar fleece jacket )
- Down jacket (North face) – Especially the pass day can be ridiculously cold. And you would want all layers possible.
- Gloves (i took inner layer and thick down layer for pass-day)
- Leg warmers/hand warmers
If you run of clothes, you can wash them along the way and dry at teahouses.
3) Trekking gear
- Sun glasses ( Snow blindness is a serious issue)
- Hat or vizor
- Buff (I love it for covering ears and to keep hair in control)
- Hiking poles
- Hiking Boots that is Goretex/waterproof. I wear these.
- Moleskin
4) Medical Kit
You know your list. But for me the list is as follows:
- Tums. Change in food pattern gives me heart burn.
- Pain killers
- Diamox ( you can buy them in Kathmandu)
- Diarrhea tablets
- Blister kit
- Alcohol wipes
- Rock tapes
- Hot water bladder
5) Toiletries:
- Soap, Shampoo, Toothbrush, Toothpaste, Towel, Sunscreen, Lip Balm, Sanitary Napkin
You may want to take more/less medicines based on your needs.
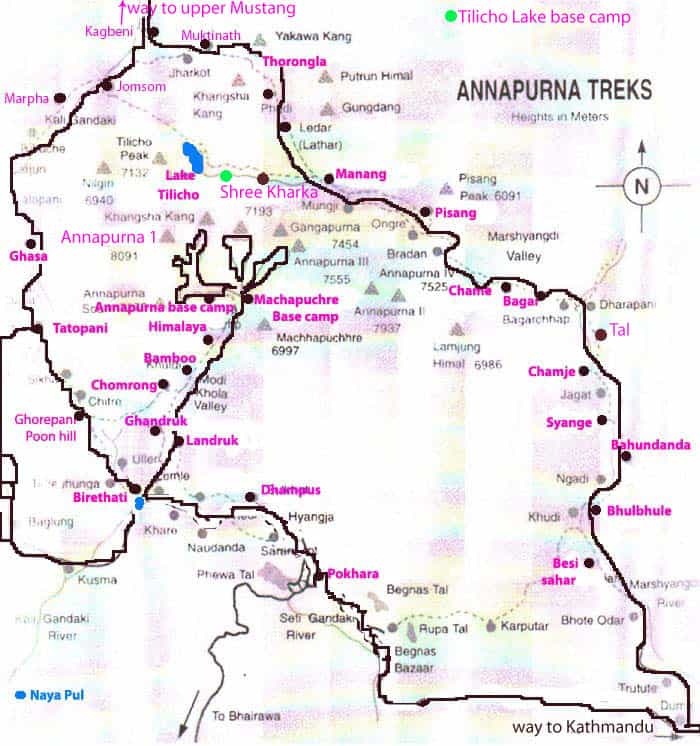
Itinerary:
Day 1: Kathmandu to Besisahar – Bhulbhule by drive and trek to Ngadi Bazar (930m) – 1 hr ( Due to heavy rain on the day we started, we had to get off early from the bus and walk a bit longer on day one.)
Day 2: Ngadi Bazar to Jagat (1300 m) – 5hrs.
Day 3: Jagat to Dharapani (1860m) – 6hrs.
Day 4: Dharapani to Chame (2670m) – 6 hrs.
Day 5: Chame to Pissang (3200m) – 5/6 hrs.
Day 6: Pissang to Manang (3540m) – 4/5 hrs.
Day 7: Rest day in Manang. We did a side to Ice Lake and 100-lama temple.
Day 8: Manang to Khangsar Valley (3734 m) – 5 hrs.
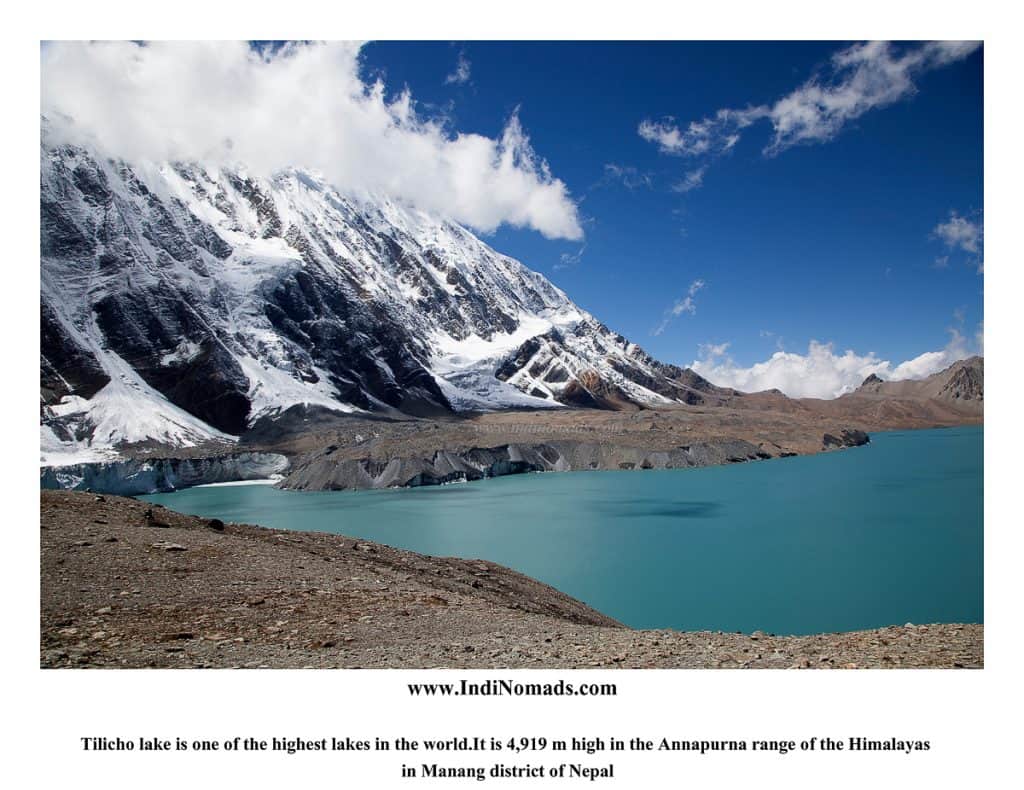
Day 9: Khangsar Valley to Tilicho Base Camp (4150 m) – 6 hrs.
Day 10: Tilicho Base Camp to Tilicho Lake (4920 m) and back to Tilicho Base camp – 8-10hrs.
Day 11: Tilicho Base Camp to Yak Kharka (4180m) – 8-10 hrs.
Day 12: Yak Kharka to Thorong High Camp (4833 m) – 6 hrs. In hindsight we should have stayed at Lower Camp instead of High Camp. And just do a hike to high camp and sleep at low camp for better acclimatization.
Day 13: Early morning around 4:30AM, start from Thorong High Camp to Thorong – La pass (5416 m). 4 hrs to the top of the pass. And another 4-5 hrs to Mukthinath (3760 m), all the way down hill. There is a tea house for hot drinks at the top of Thorong La.
Day 14: Mukthinath (temple visit) to Kegbeni (2800 m) – 3 hrs. Kagbeni to Jomsom (2720 m) by Jeep and bus to Ghasa – 8 hrs.
Day 15: Ghasa to Tatopani (1190 m) by bus
Day 16: Rest day in Tatopani and hot springs.
Day 17: Tatopani to Shikha (1935 m) 4/5 hrs.
Day 18: Shika to Ghorepani (2800 m) 4/5 hrs.
Day 19: Early morning sunrise hike to Poon Hill (3210 m). Return to tea house, breakfast and hike to Tadhapani (2630 m) – 5/6 hrs.
Day 20: Tadhapani to Chhomrong (2170 m) – 6 hrs.
Day 21: Chhomrong to Bamboo (2310 m) – 6 hrs.
Day 22: Bamboo to Duerali (3200 m) – 5/6 hrs.
Day 23: Duerali to Annapurna Base Camp(ABC) (4130 m) – 5/6 hrs.
Day 24: We stayed back at Annapurna Base Camp because the prior day was too cloudy to see the 360-degree view of the base. And 24th day early morning we got an amazing view. ABC to Bamboo (2310) – 8 hrs.
Day 25: Bamboo to Landruk (1565 m) – 7 hrs.
Day 26: Landruk to Phedi 6/7hrs of walking and drive to Pokhara. This is the end of the trek. We stayed a couple of extra days at Pokhara for white-water rafting and went to Chitwan National Park.
Optional Days / Side trips:
We did Tilicho lake that not everyone chooses to do. So, Day 8 to Day 11 are optional.
Instead, on Day 8, you can hike from Manang to Letdar
Day 9 – Letdar to Thorong High Camp.
